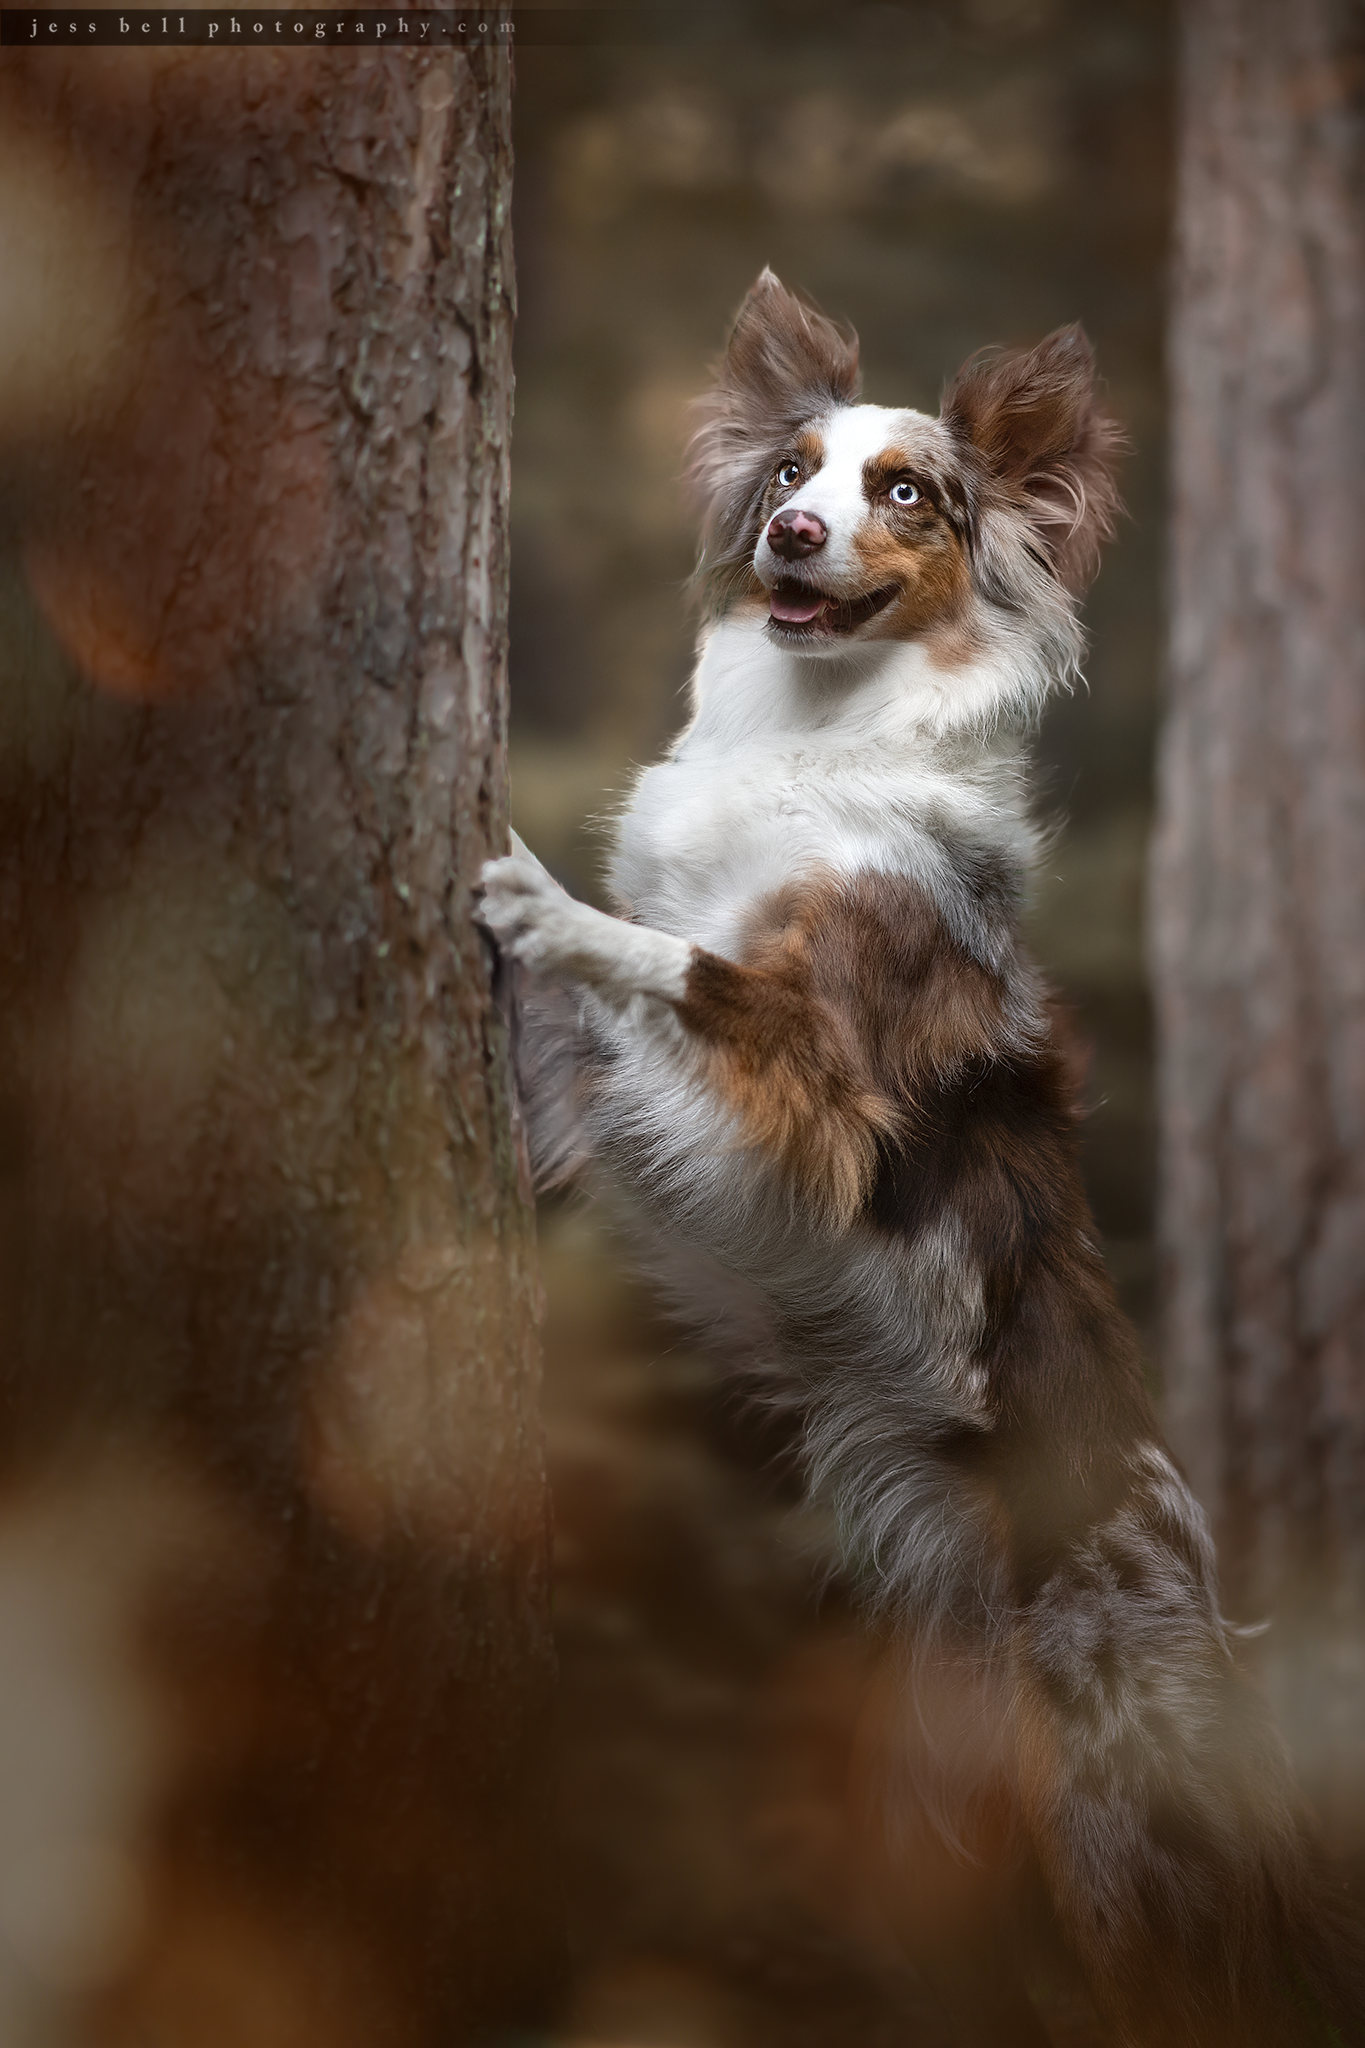
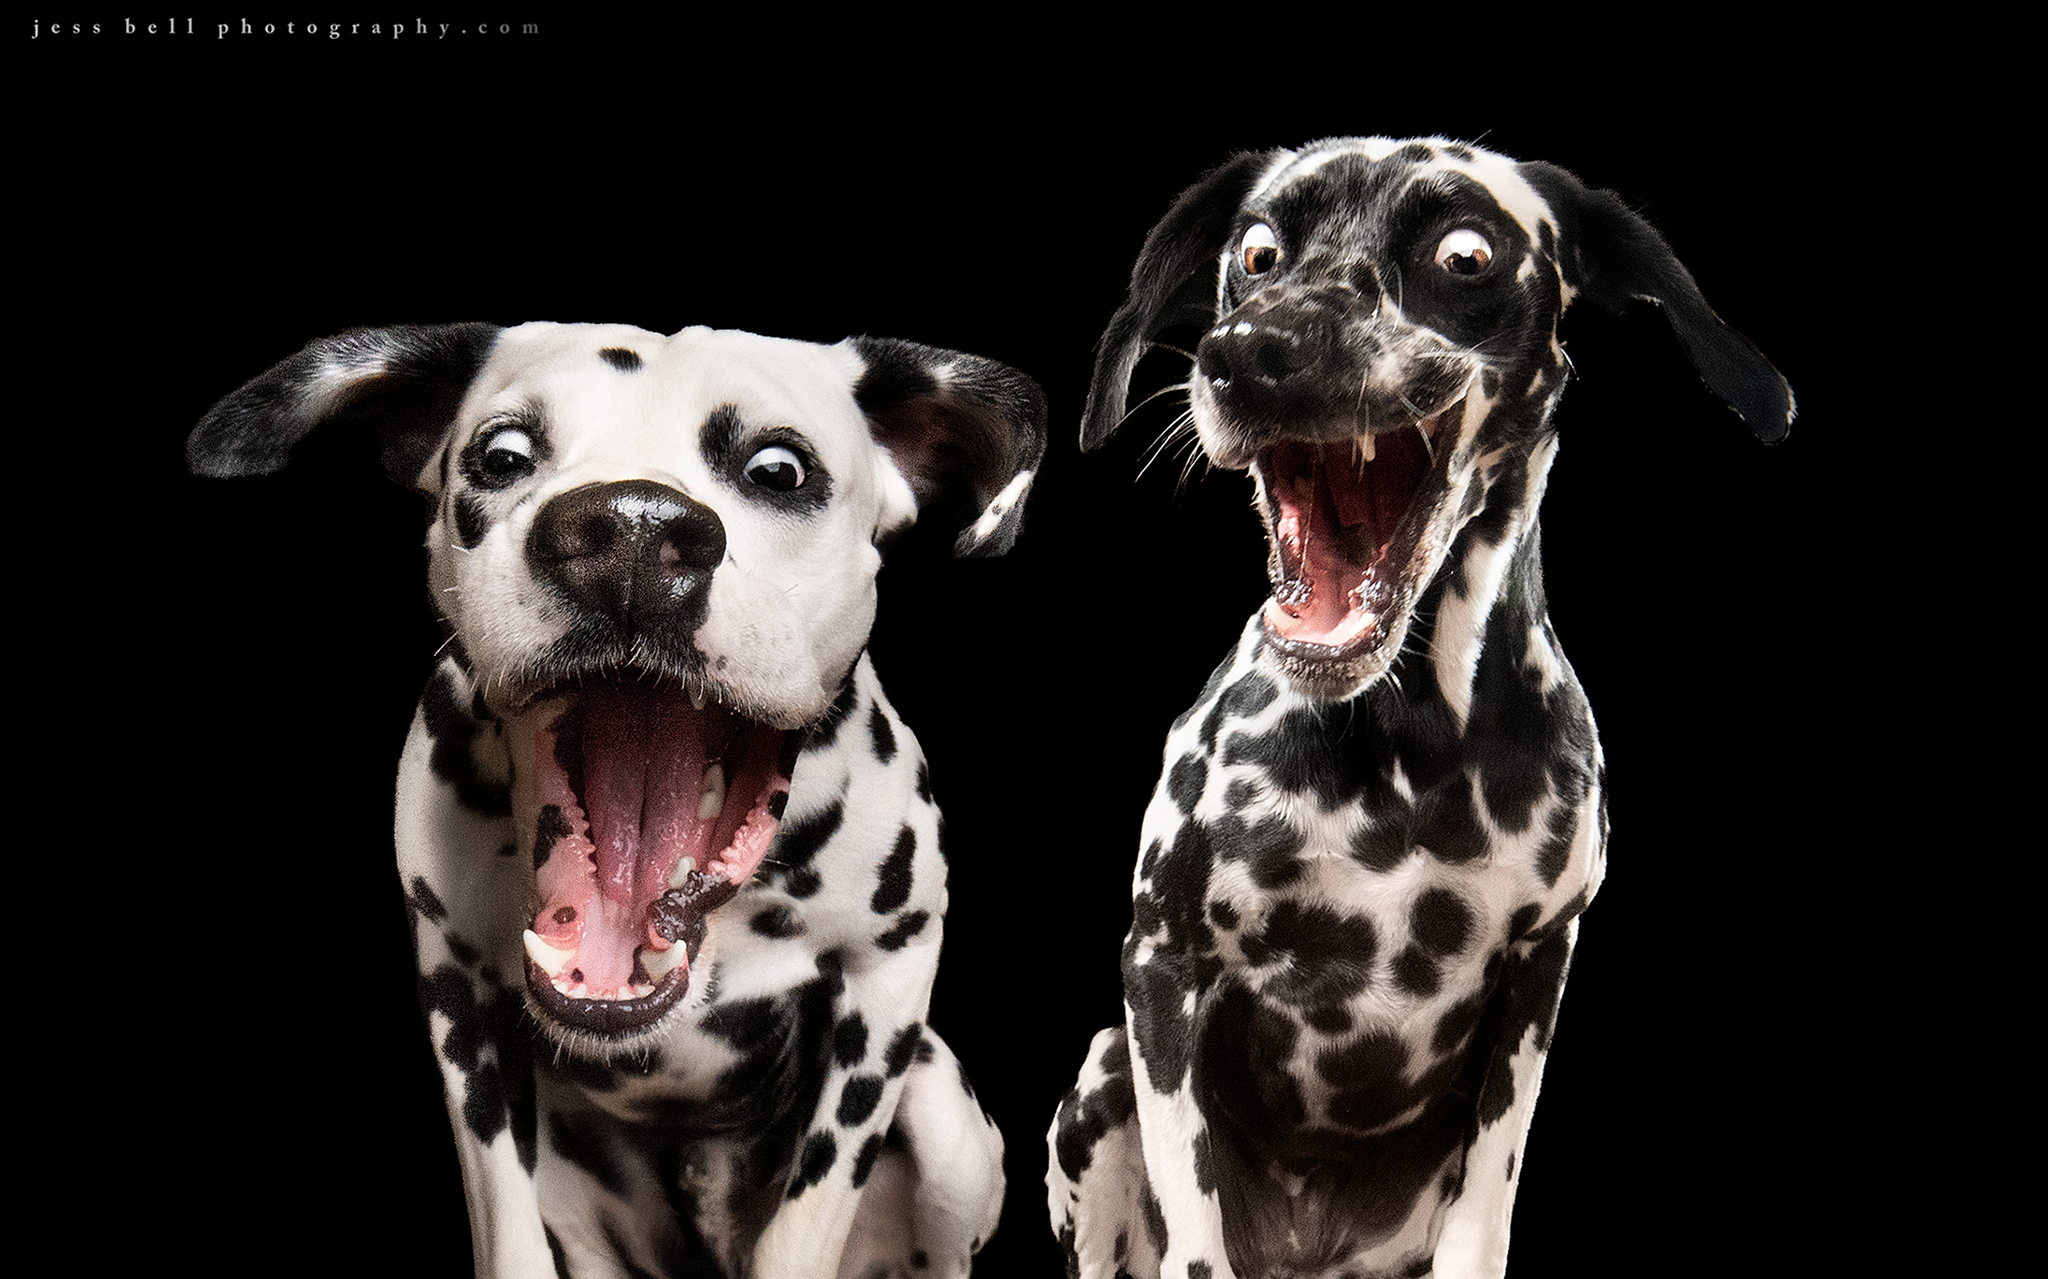
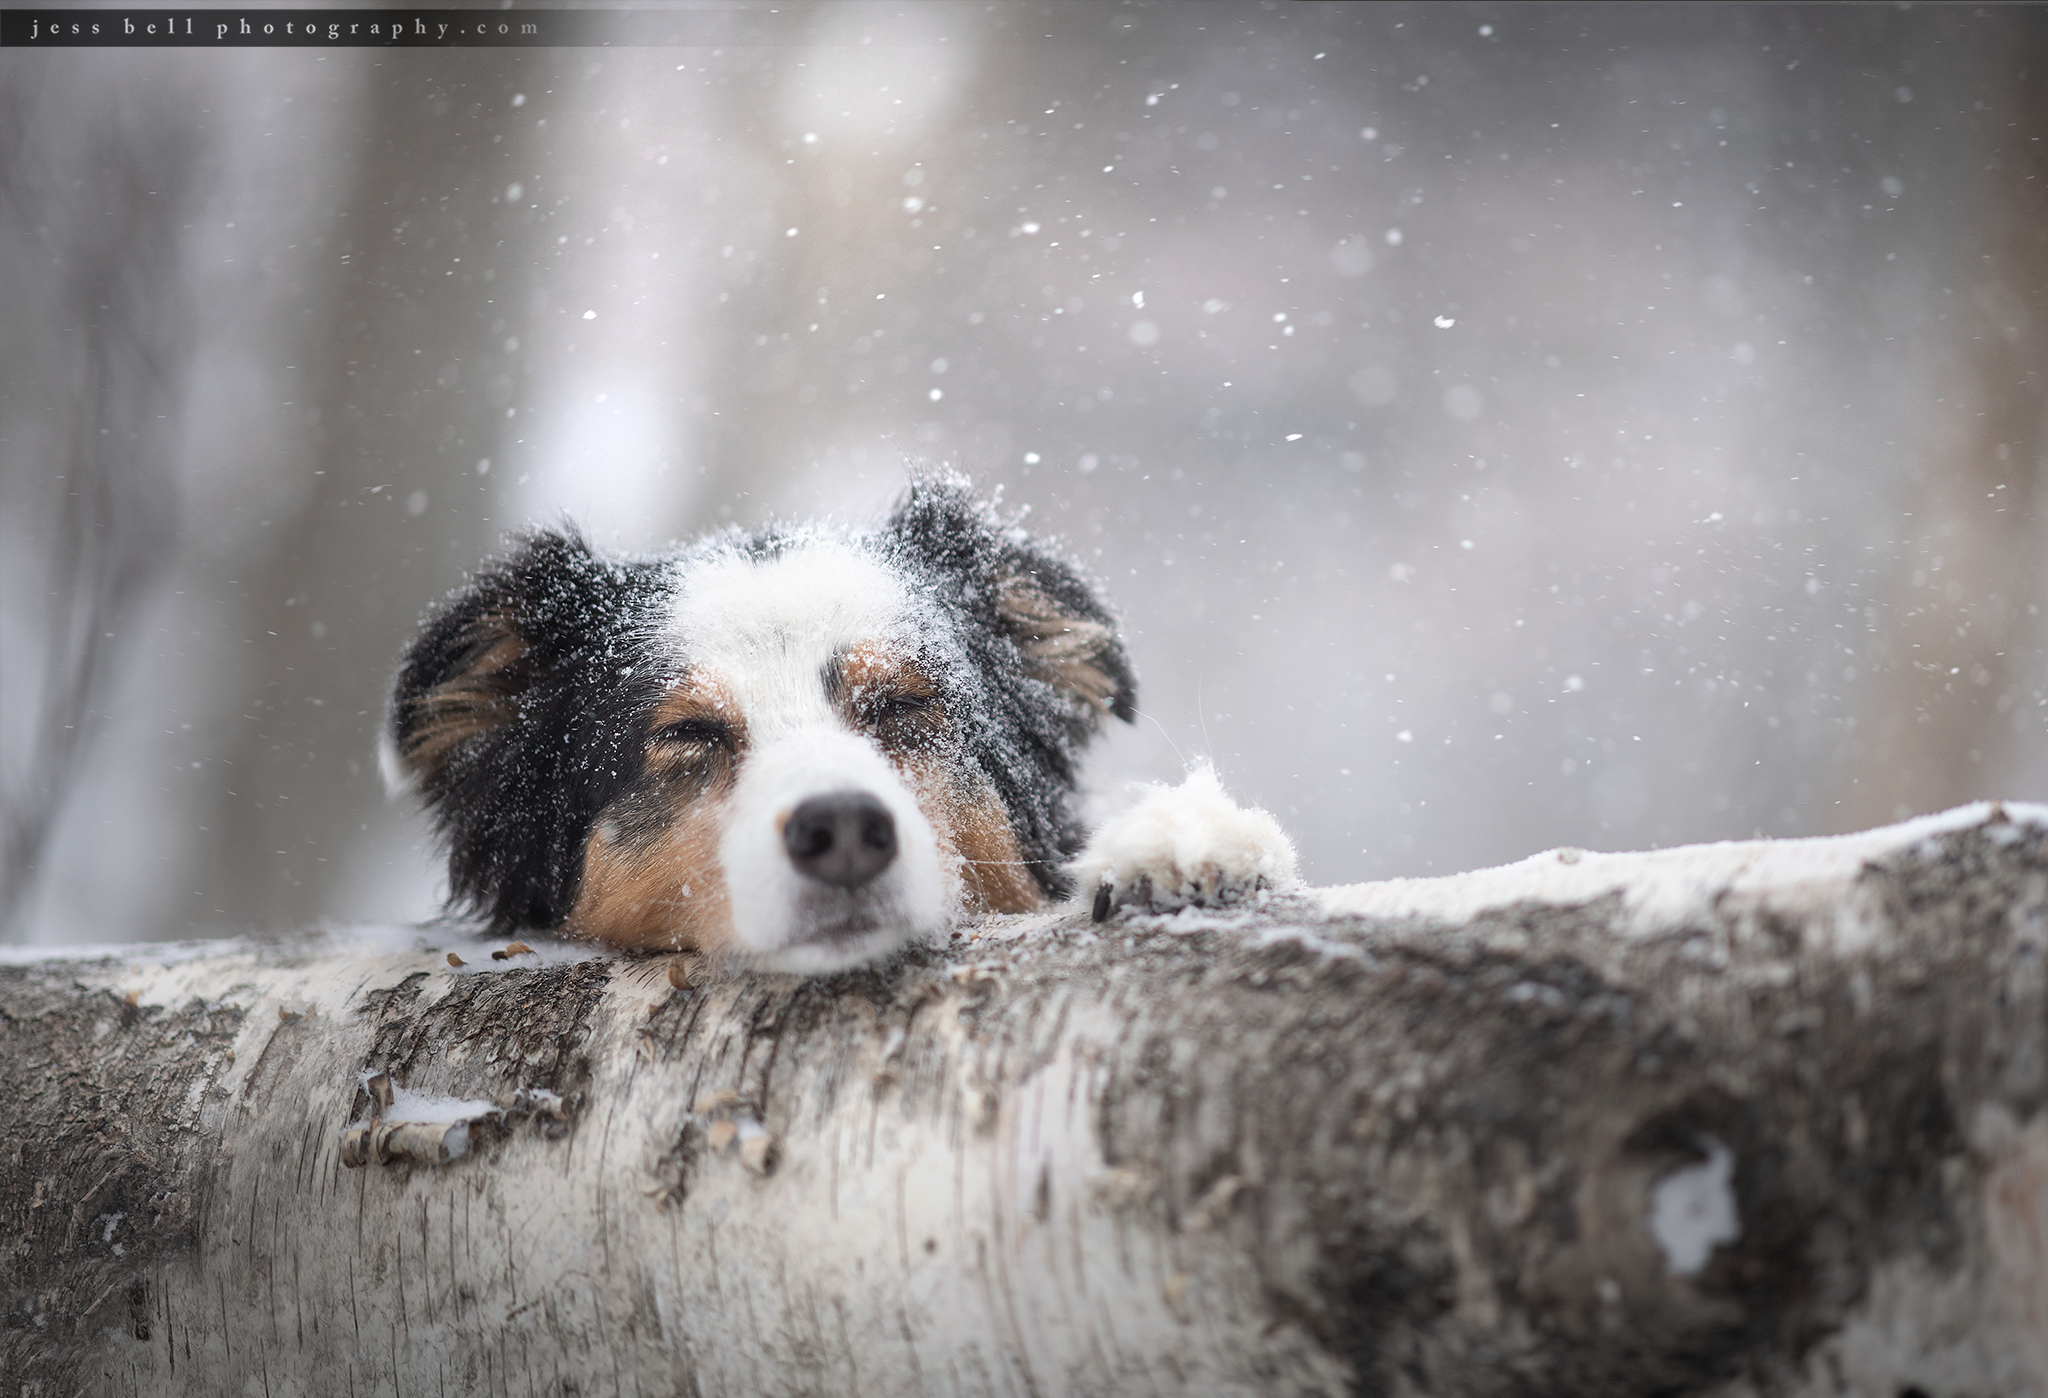
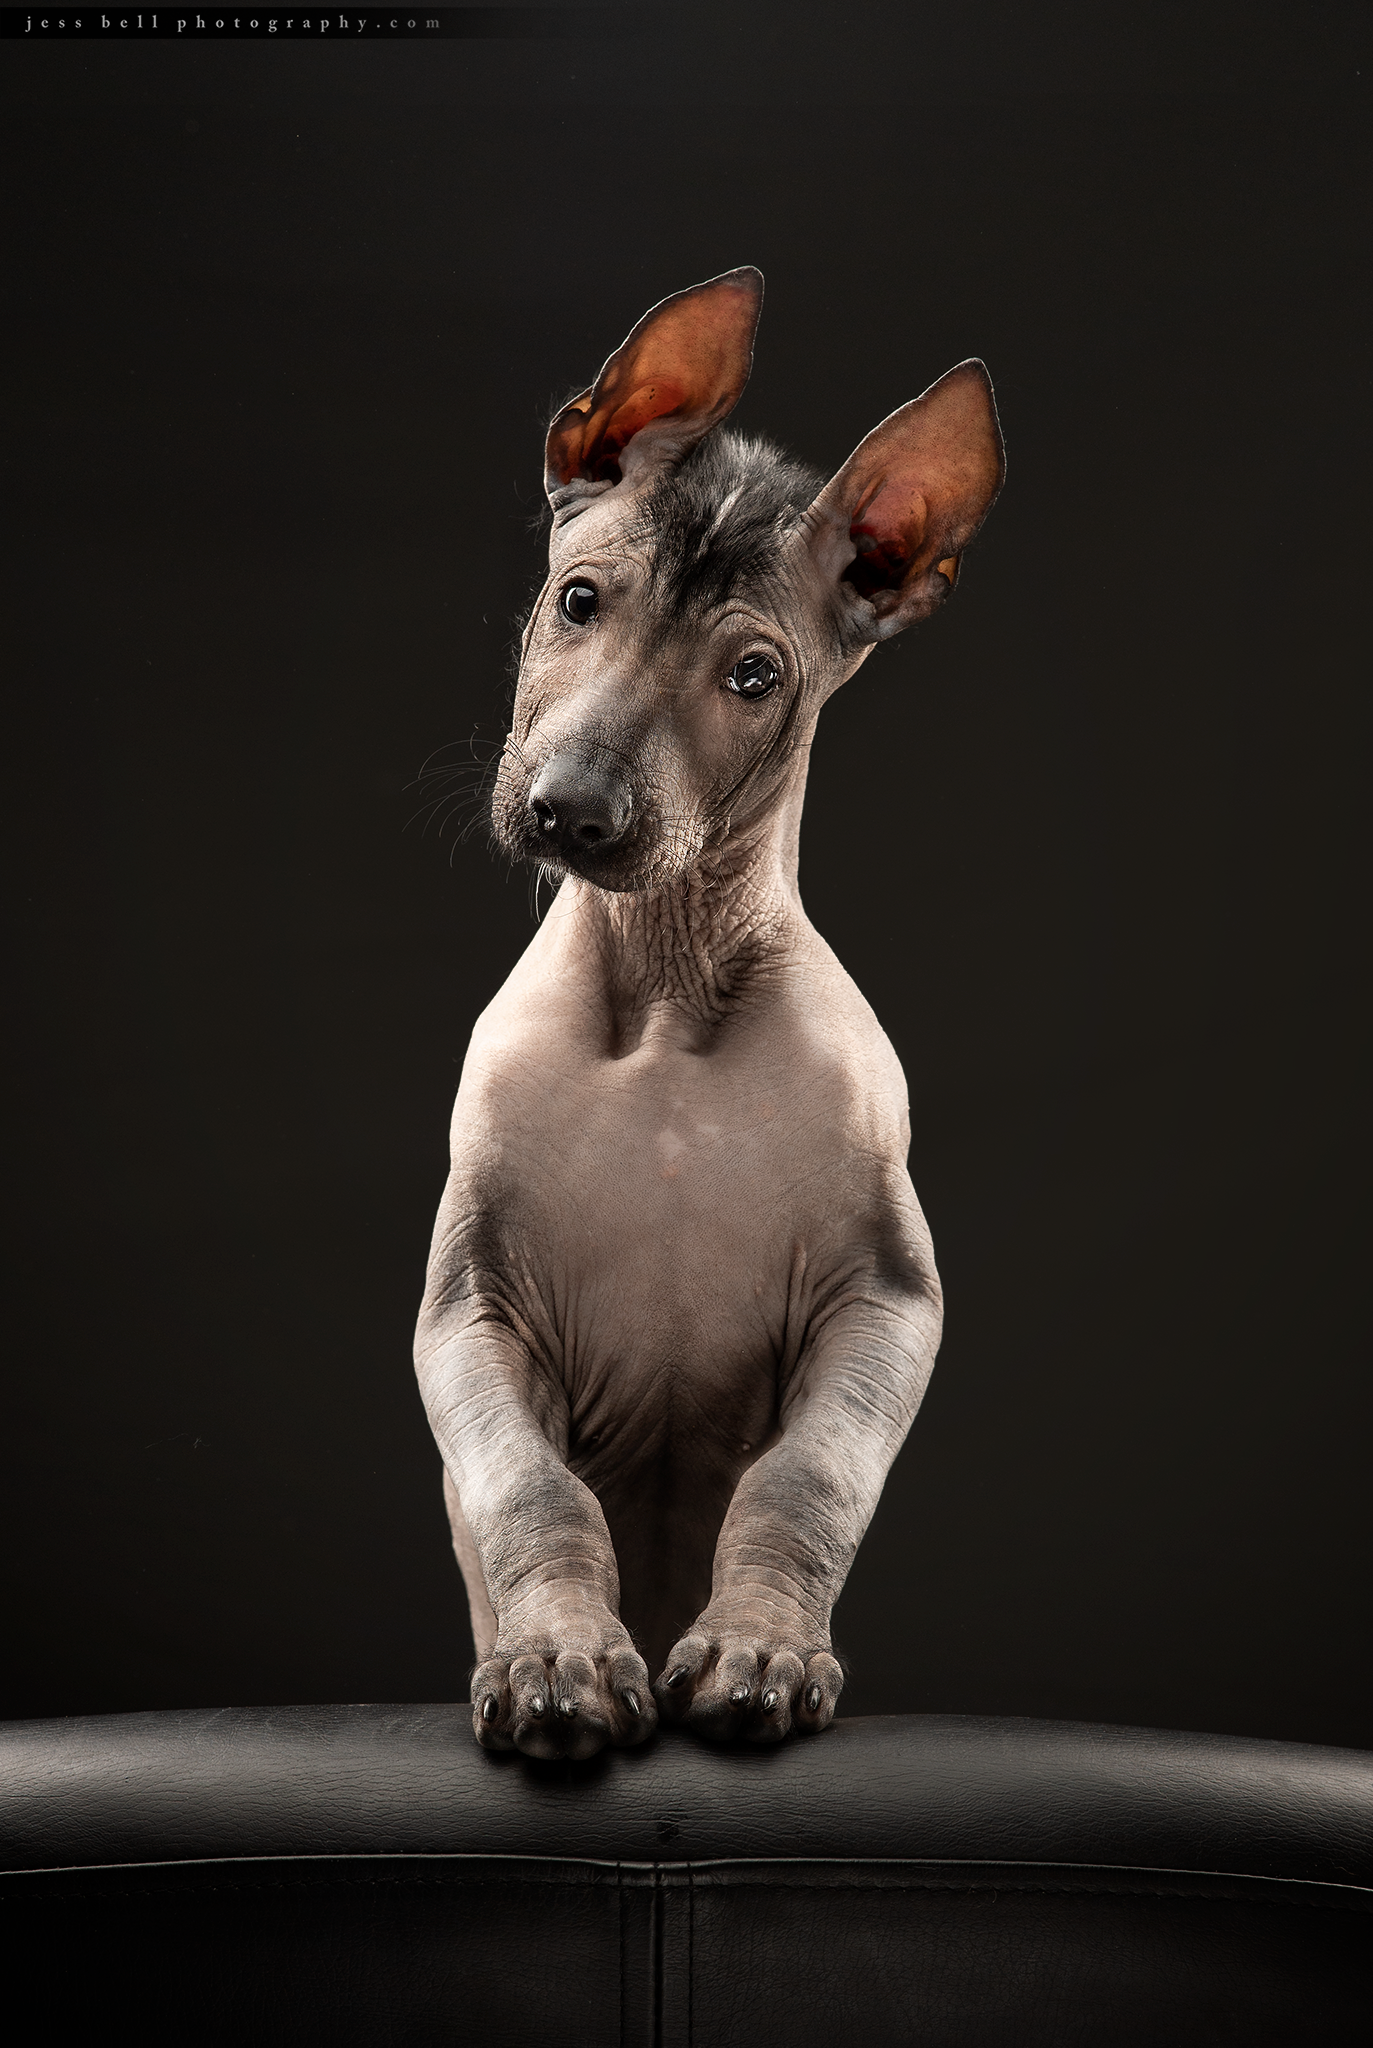
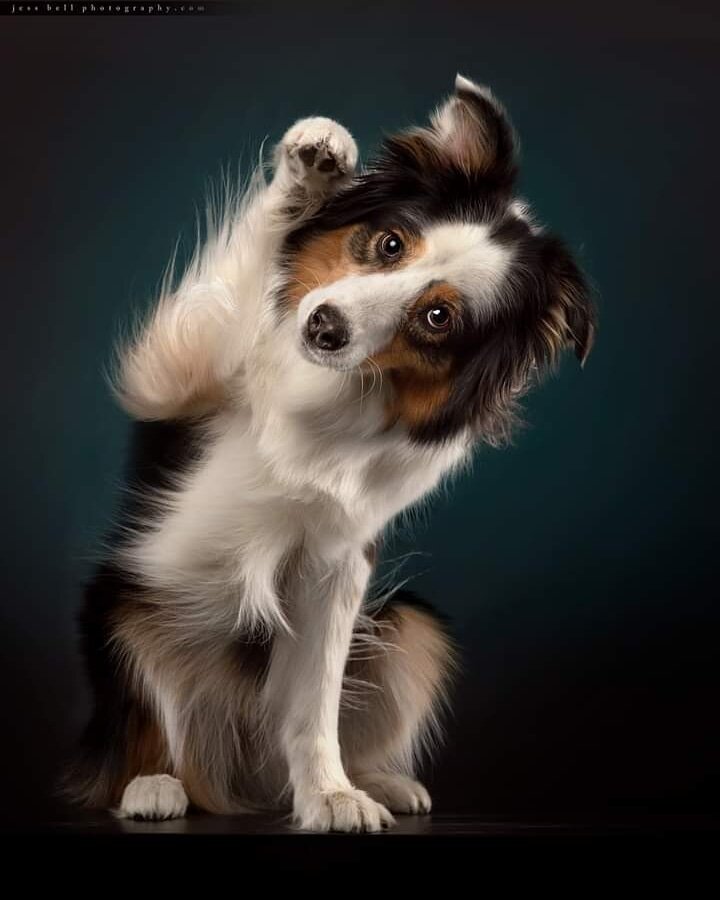
Powder action photography gallery

I’m gearing up for some fun new ideas with coloured powder once COVID-19 is well under control. Stay tuned. I’m going bonkers not being able to work on this awesome series right now, but safety always comes first. So in the meantime, please enjoy this collection of just some of the many images I’ve created over the years.

Each image, while similar at its core, is unique to every dog. The powder pours off their body as they move, so you can see each dog’s individual movement and form in every shot.

10 tips to get the most out of your pet photo session

This is an article aimed at helping you best prepare for your pet photo session with Jess Bell Photography. I hope you like it! And if you get something out of it, I hope that you’ll take a moment to share it with your friends and family.

Jess Bell Photography, Artistic Animal Imagery

1. The goal is to have fun

  • Fun needs to be a priority for everyone! If all parties are not enjoying themselves, then something is amiss. This means the animals too. At my photo sessions, we use lots of fun ways to craft gorgeous photos. Leave any stress and negativity at the proverbial door and enjoy the process.

  • Trust me. We’re going to capture some awesome images because it’s exactly my job to do so. This will free you up to focus on more important things.

  • Relax. Your job is to focus on yourself and your animals. If you stress up, your animals may as well, which will likely feed back into your stress and impacts your ability to enjoy the experience.

  • Use a variety of treats and other goodies. Bring way more than you think you need. I have a background in animal training, and my approach is to use lots (and lots and lots) of reinforcement for good behaviour. Kibble, dried liver, balls and tugs are all great. Use a variety of things you know your animal loves to keep them happy and anticipating the next opportunity to earn a reward. Bring some water and a bowl to keep both yourself and your dogs hydrated throughout.

  • Resist the urge to correct your dog if they make a mistake. Instead, we use this as feedback to vary our approach. Maybe we need to use different treats, or reinforce the desired behaviour more frequently. Perhaps we need to reset the exercise or just move on.

Argos the Whippet

Argos the Whippet

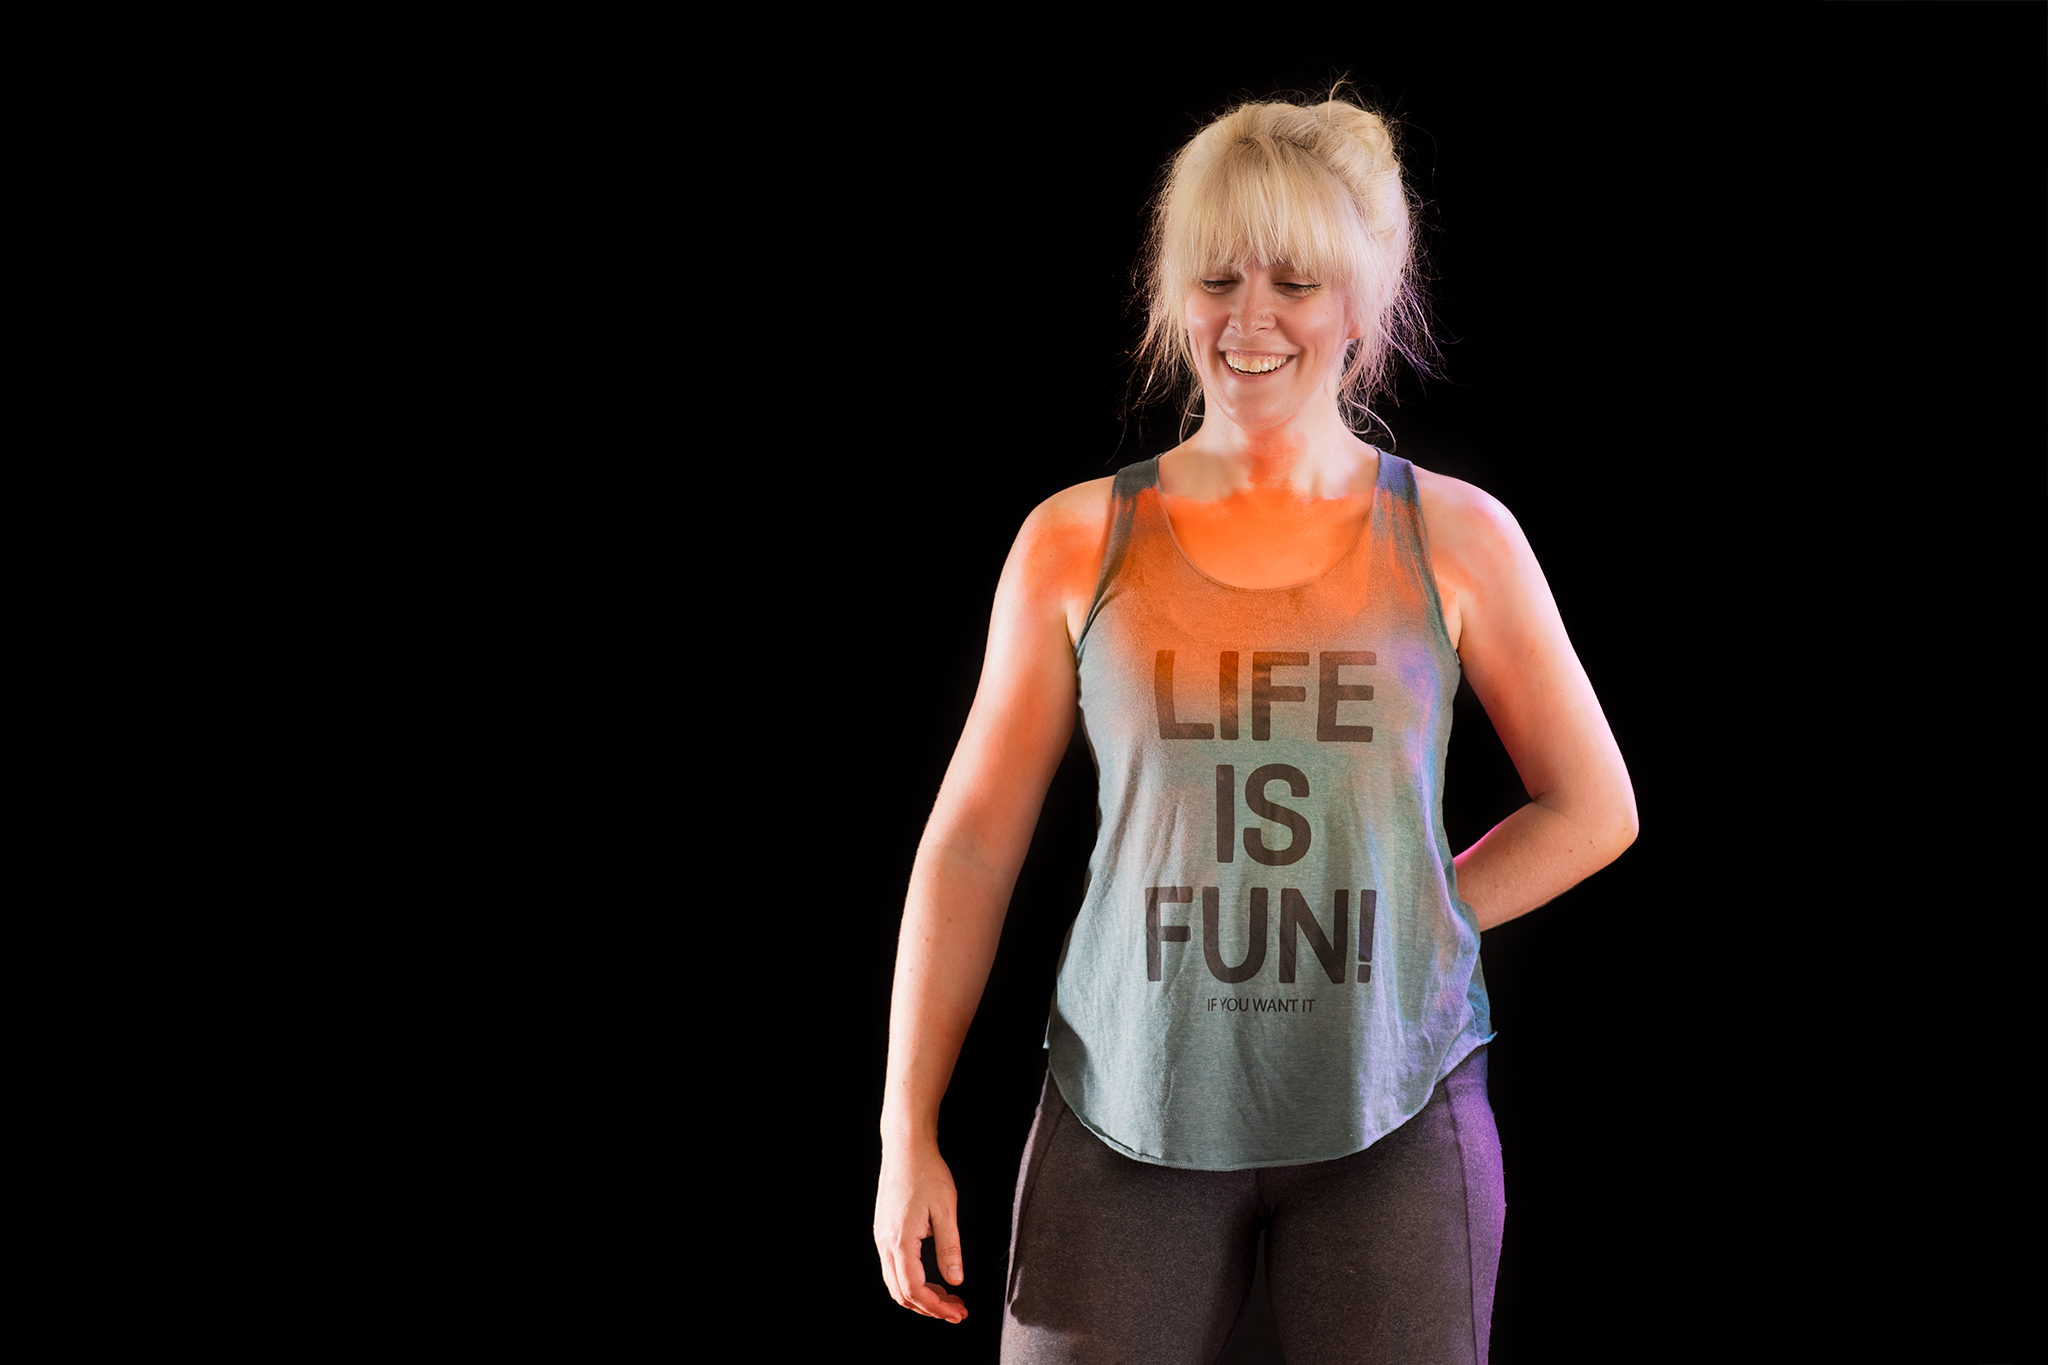
Rosemary, Argos the Whippet’s person, shows off her awesome shirt and attitude behind the scenes at a powder group event.

Rosemary, Argos the Whippet’s person, shows off her awesome shirt and attitude behind the scenes at a powder group event.


2. Safety is paramount

I will not risk the safety of an animal for the sake of a photo. I set up my sessions with this in mind. I am absolutely prepared to interrupt a session if I feel like safety is being disregarded, and I invite my clients to do the same. (Happily, I have never actually had to do so.) We must be sure to advocate for our animals, as they cannot do it themselves.


3. Leash on? No prob.

  • Not every dog is capable of working off leash in new areas, and not every area I work in allows for unleashed dogs. Digital leash removal is just part of a pet photographer’s job, and I’m pretty darn good at it. If you have any doubt in your dog’s ability and desire to work off leash, leave it on and we’ll work around it. Working with leashed animals means that we can work more quickly and with less failure so everyone enjoys themselves more.

  • If we’re going to use a leash, try to keep it behind the dog. The less “stuff” between a dog and the camera, the better for me when editing your shots.

  • Naked dogs. I require dogs to be on a flat, thin collar at the session, for maximum ease of removing it digitally afterwards. Let me know if there is a specific item you wish for them to wear and have featured in our photos.

Young Arya the Czech. Vlcak was best left to her own devices during the session. Keeping the leash behind her was not always possible, and that’s okay!

Young Arya the Czech. Vlcak was best left to her own devices during the session. Keeping the leash behind her was not always possible, and that’s okay!

Arya - edited image

4. Grooming - them and you

My personal model Cohen the Australian Shepherd shows off some messy eyes in this unedited shot. This is fixable during editing, but it’s best to fix it before the photo is taken.

My personal model Cohen the Australian Shepherd shows off some messy eyes in this unedited shot. This is fixable during editing, but it’s best to fix it before the photo is taken.

  • We want tidy dogs, but not too tidy. Unless your dog is a trimmed breed, avoid trimming natural furnishings if you can. Dogs’ natural beauty comes through when they’re left looking a little more, well, natural! I recommend that animals be free of dust, dirt and stray hair before we take our photos.. Having them professionally groomed a few days before our photo session will help reduce shedding and get them looking their best.

  • Wipe eyes periodically. Every pet own knows about eye boogies (though their names for them may vary). These are easily removed when editing, but I would rather they be caught before we snap the camera shutter.

  • Trim toenails. Long toenails tend to draw the eye away from the important parts of a photograph. They’re also not particularly easy to edit in post. Please arrange to have our animal subjects’ nails trimmed and tidied a few days before the session.

  • There are some things I can fix in post, and other things I can’t. Wet fur and dirt are top of that list.

  • Do you want to be included in the photos? If so, I recommend wearing something somewhat formal. Dark colours tend to be slimming. Light colours can be light and airy. Try to have your outfit comprised of subdued, matching tones. Wear solid colours. Don’t wear prints or patterns. Avoid short sleeves or short pants. Ensure all items fit you well.


5. Think about sight lines

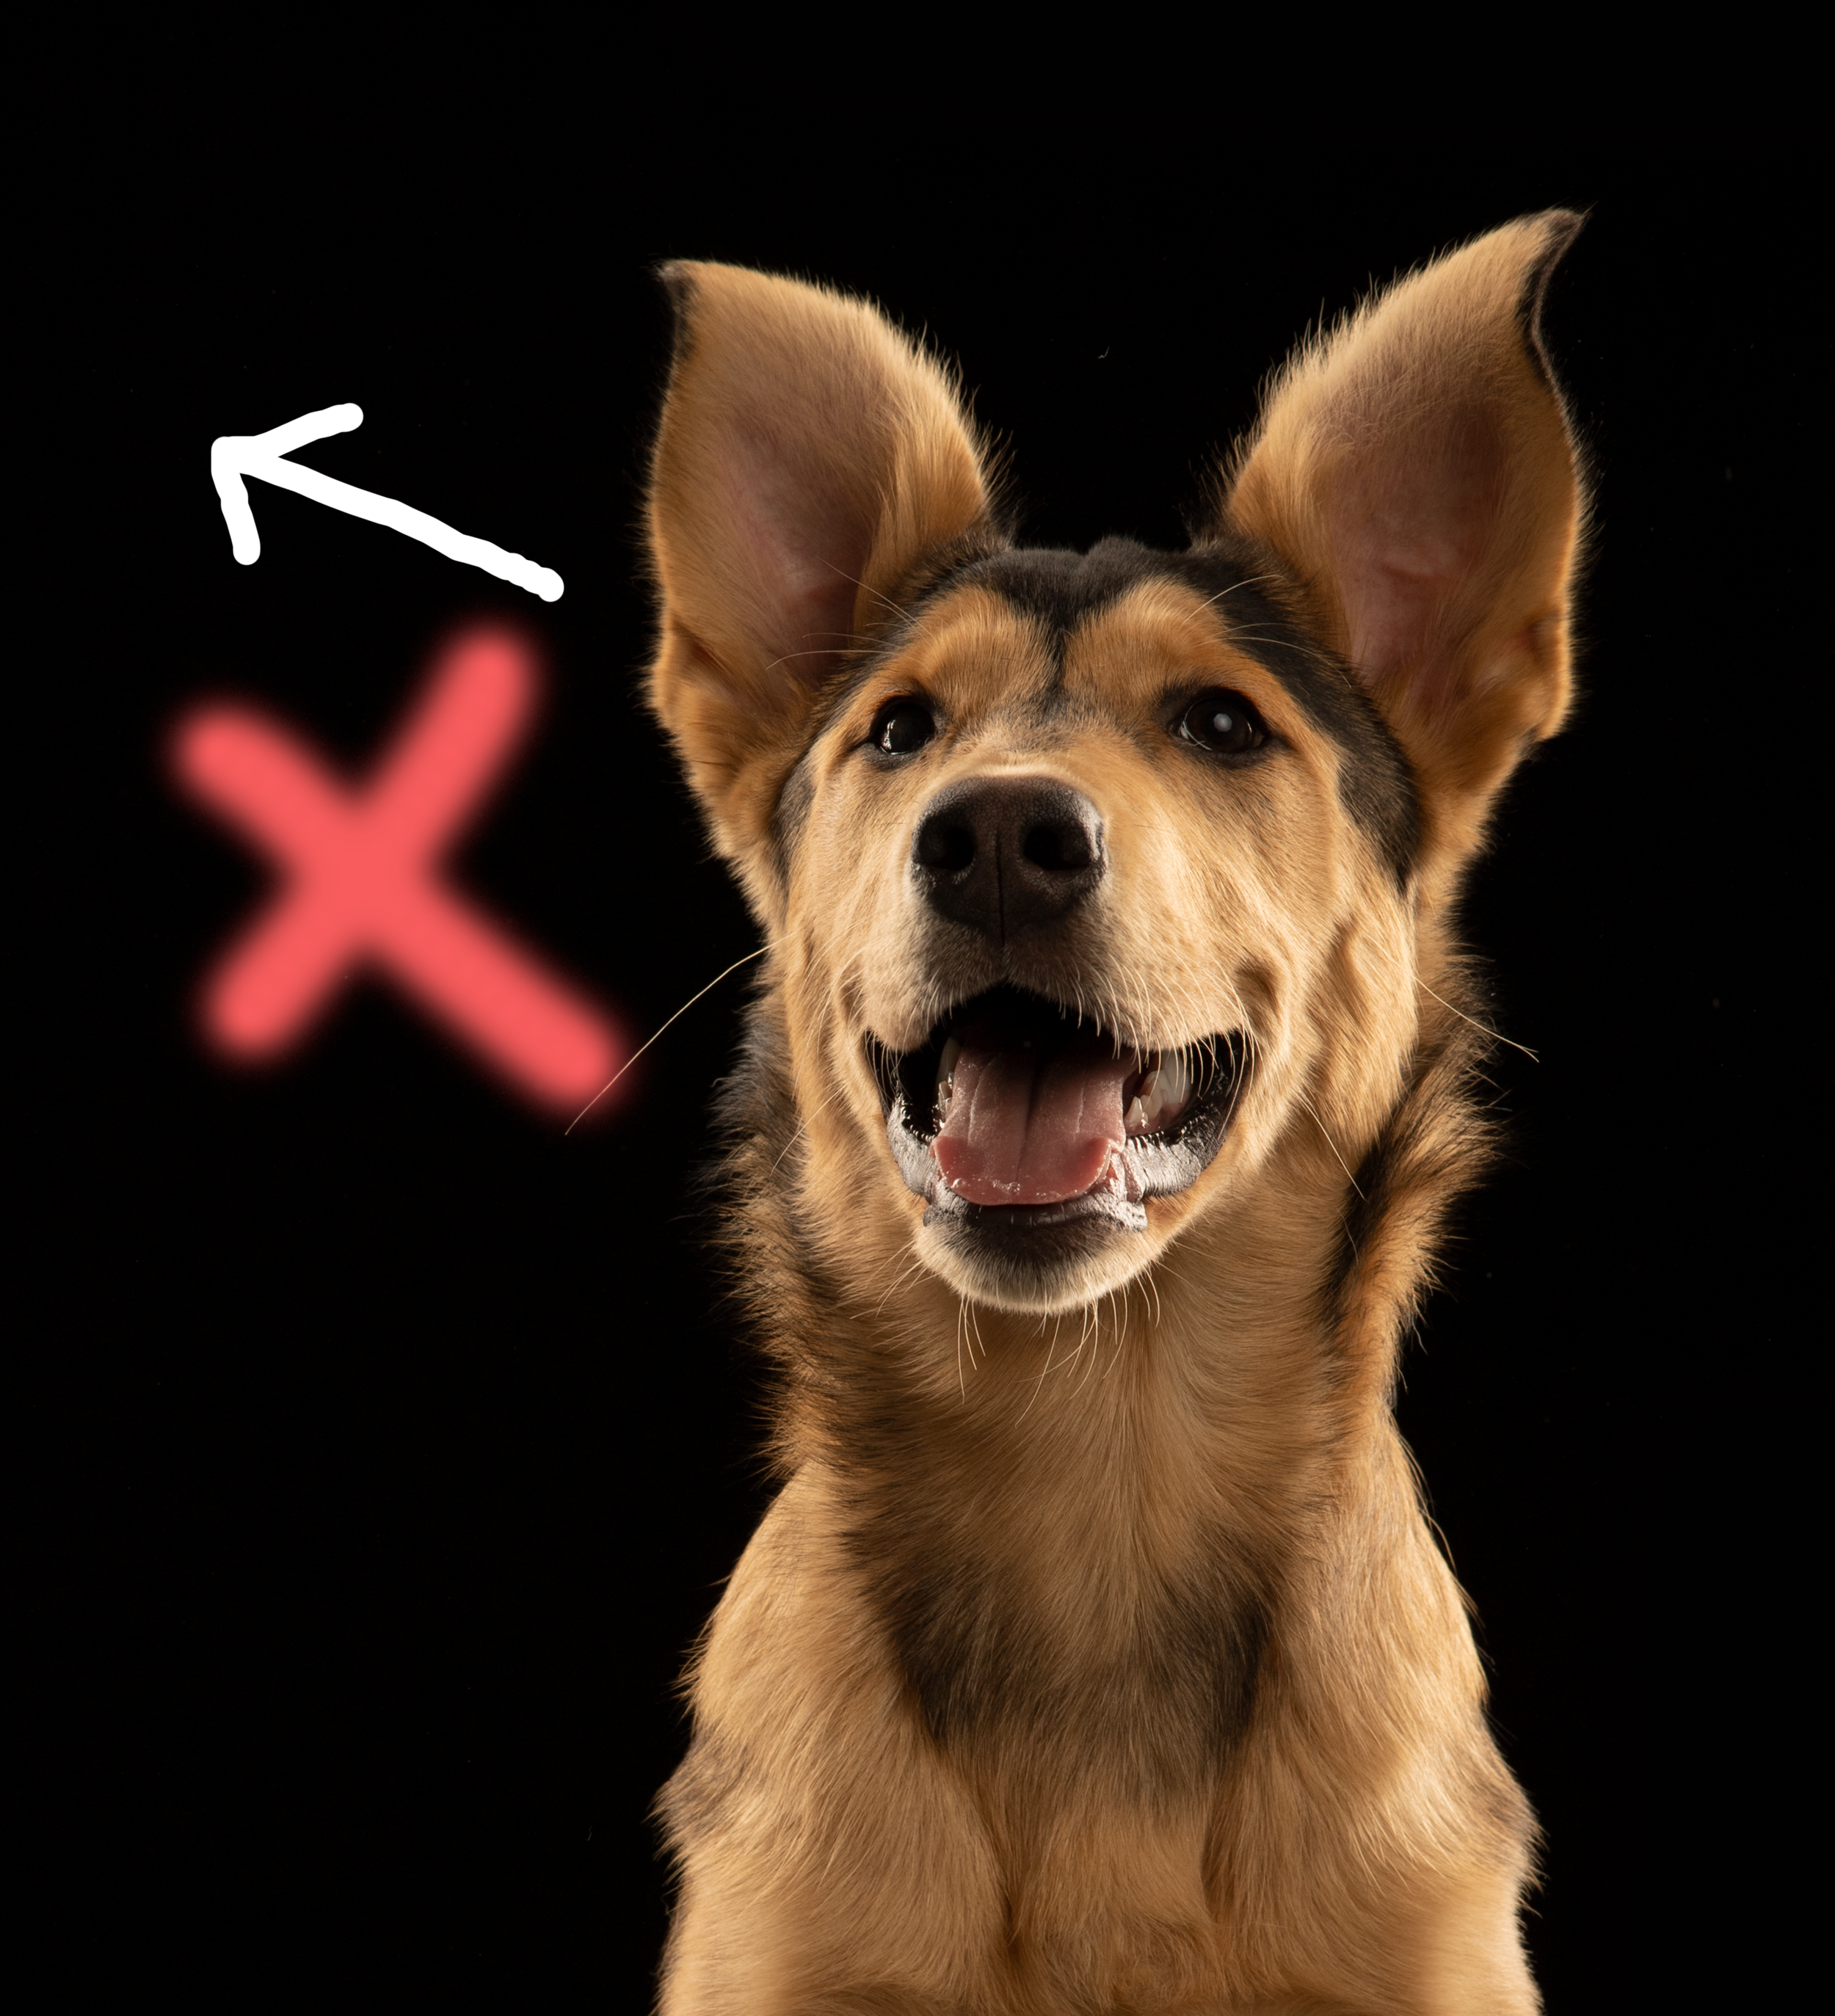
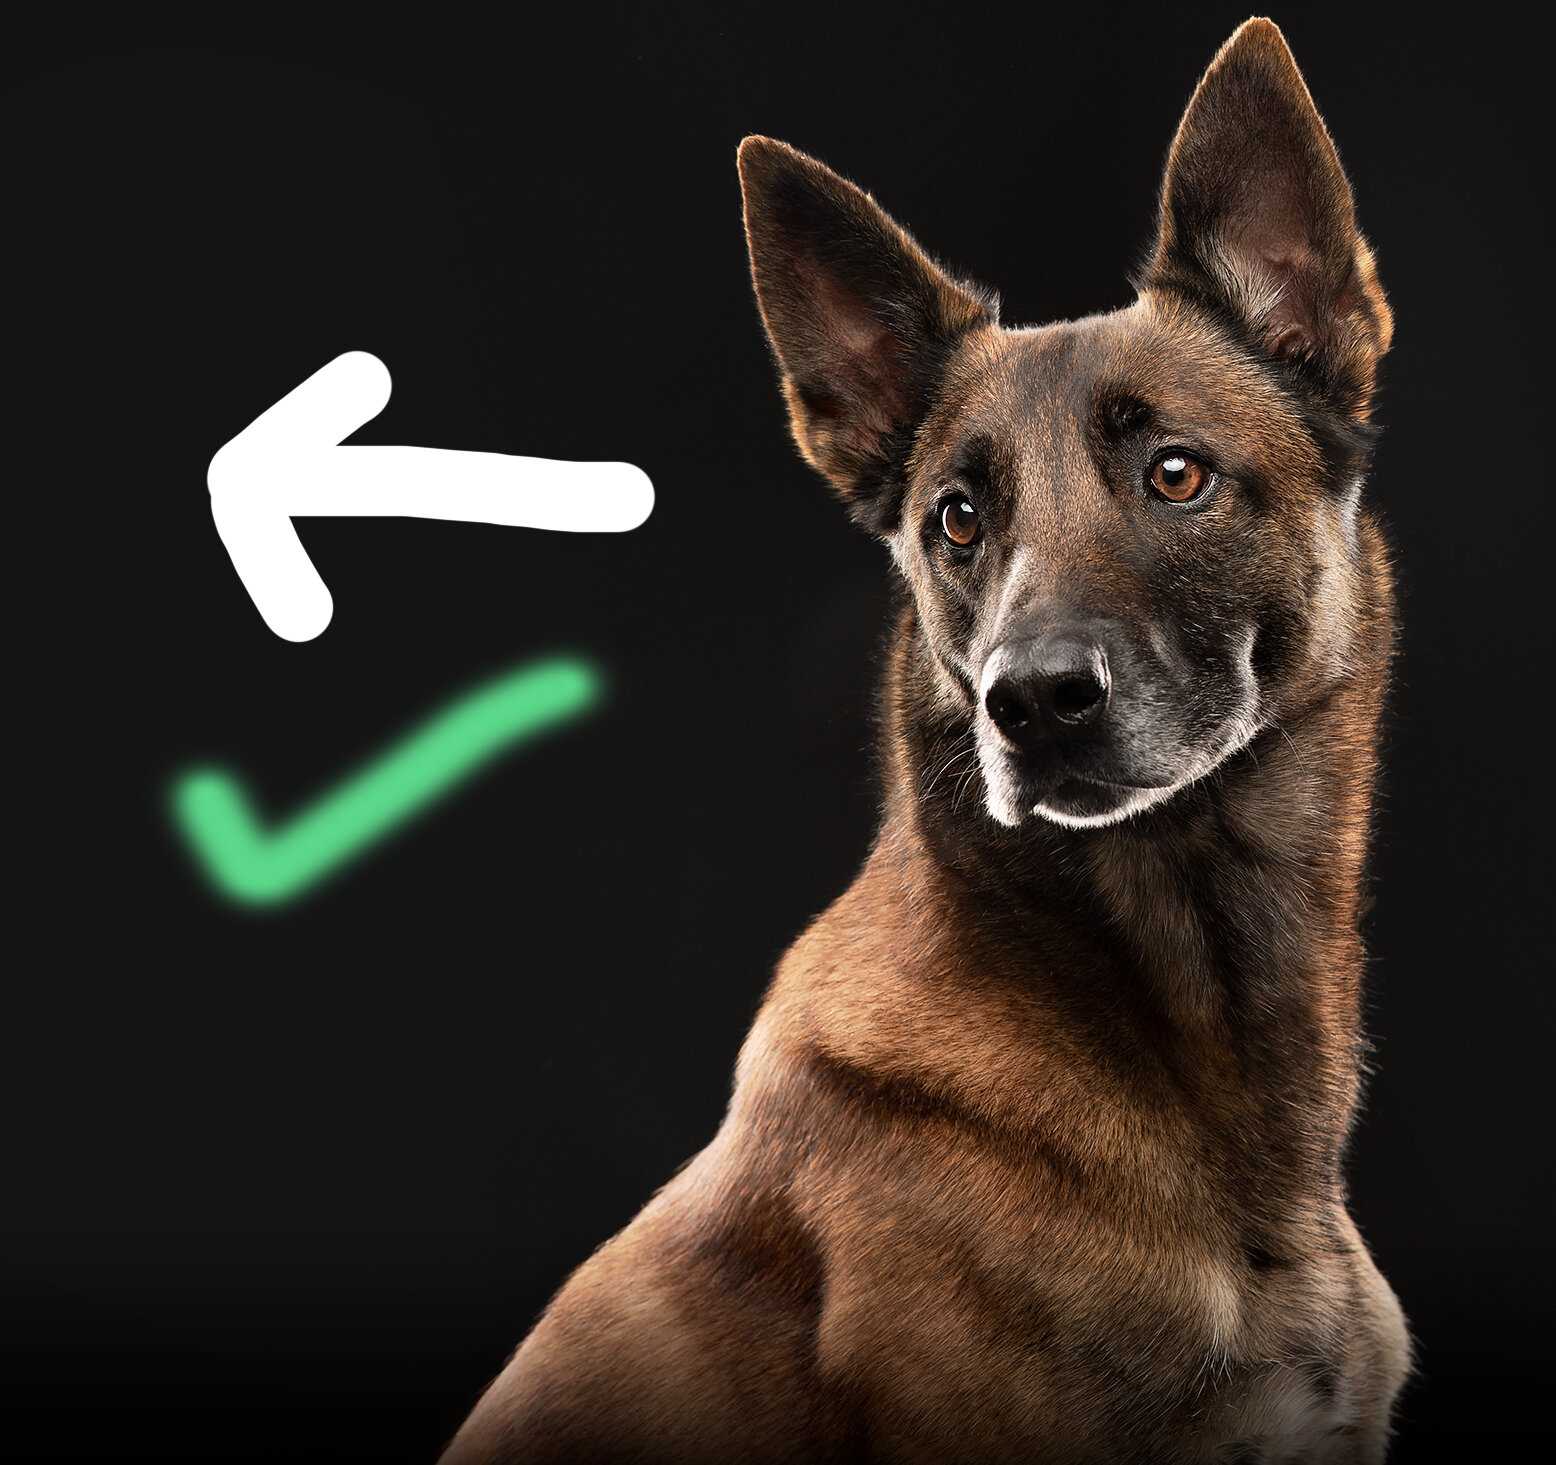
Up, up and away. Dogs are accustomed to looking up at us. They’re short, we’re tall. However the best photos are taken level with the dog’s eyes, and level with the dog’s sightline. Keep this in mind at your session. Be prepared to get low, hold your toys low and deliver your treats low. Your photos will have your dogs looking much more regal and powerful as a result.


Left: Unedited photo of puppy Phoenix looking a bit too far up for my liking
Right: Malinois Viva with eyes looking at about camera level, creating a more captivating photo.


6. Good light makes great photos

Dalmatians Hazzard and Random rocked their sunrise photo session.

Dalmatians Hazzard and Random rocked their sunrise photo session.

Good light makes great photos. Unfortunately, sometimes great light is at slightly inconvenient times of the day, like sunrise and sunset. I schedule all of my outdoor sessions around these golden hours. I apologize in advance for your potential loss of sleep. But these sessions result in special, once in a lifetime types of photographs, and it’s always worth it.


7. The best poses


7A. What does a dog have to know?

Honestly, they don’t need to know much. I have a number of tricks up my sleeve to work with a dog (or puppy) of any skill level. However, if you’re keen to teach something fun for the session, here’s a few ideas in order of importance:

  • sit-stay

  • stand-stay

  • down-stay

  • paws up

  • perch on an object

  • head tilt

  • paw/wave

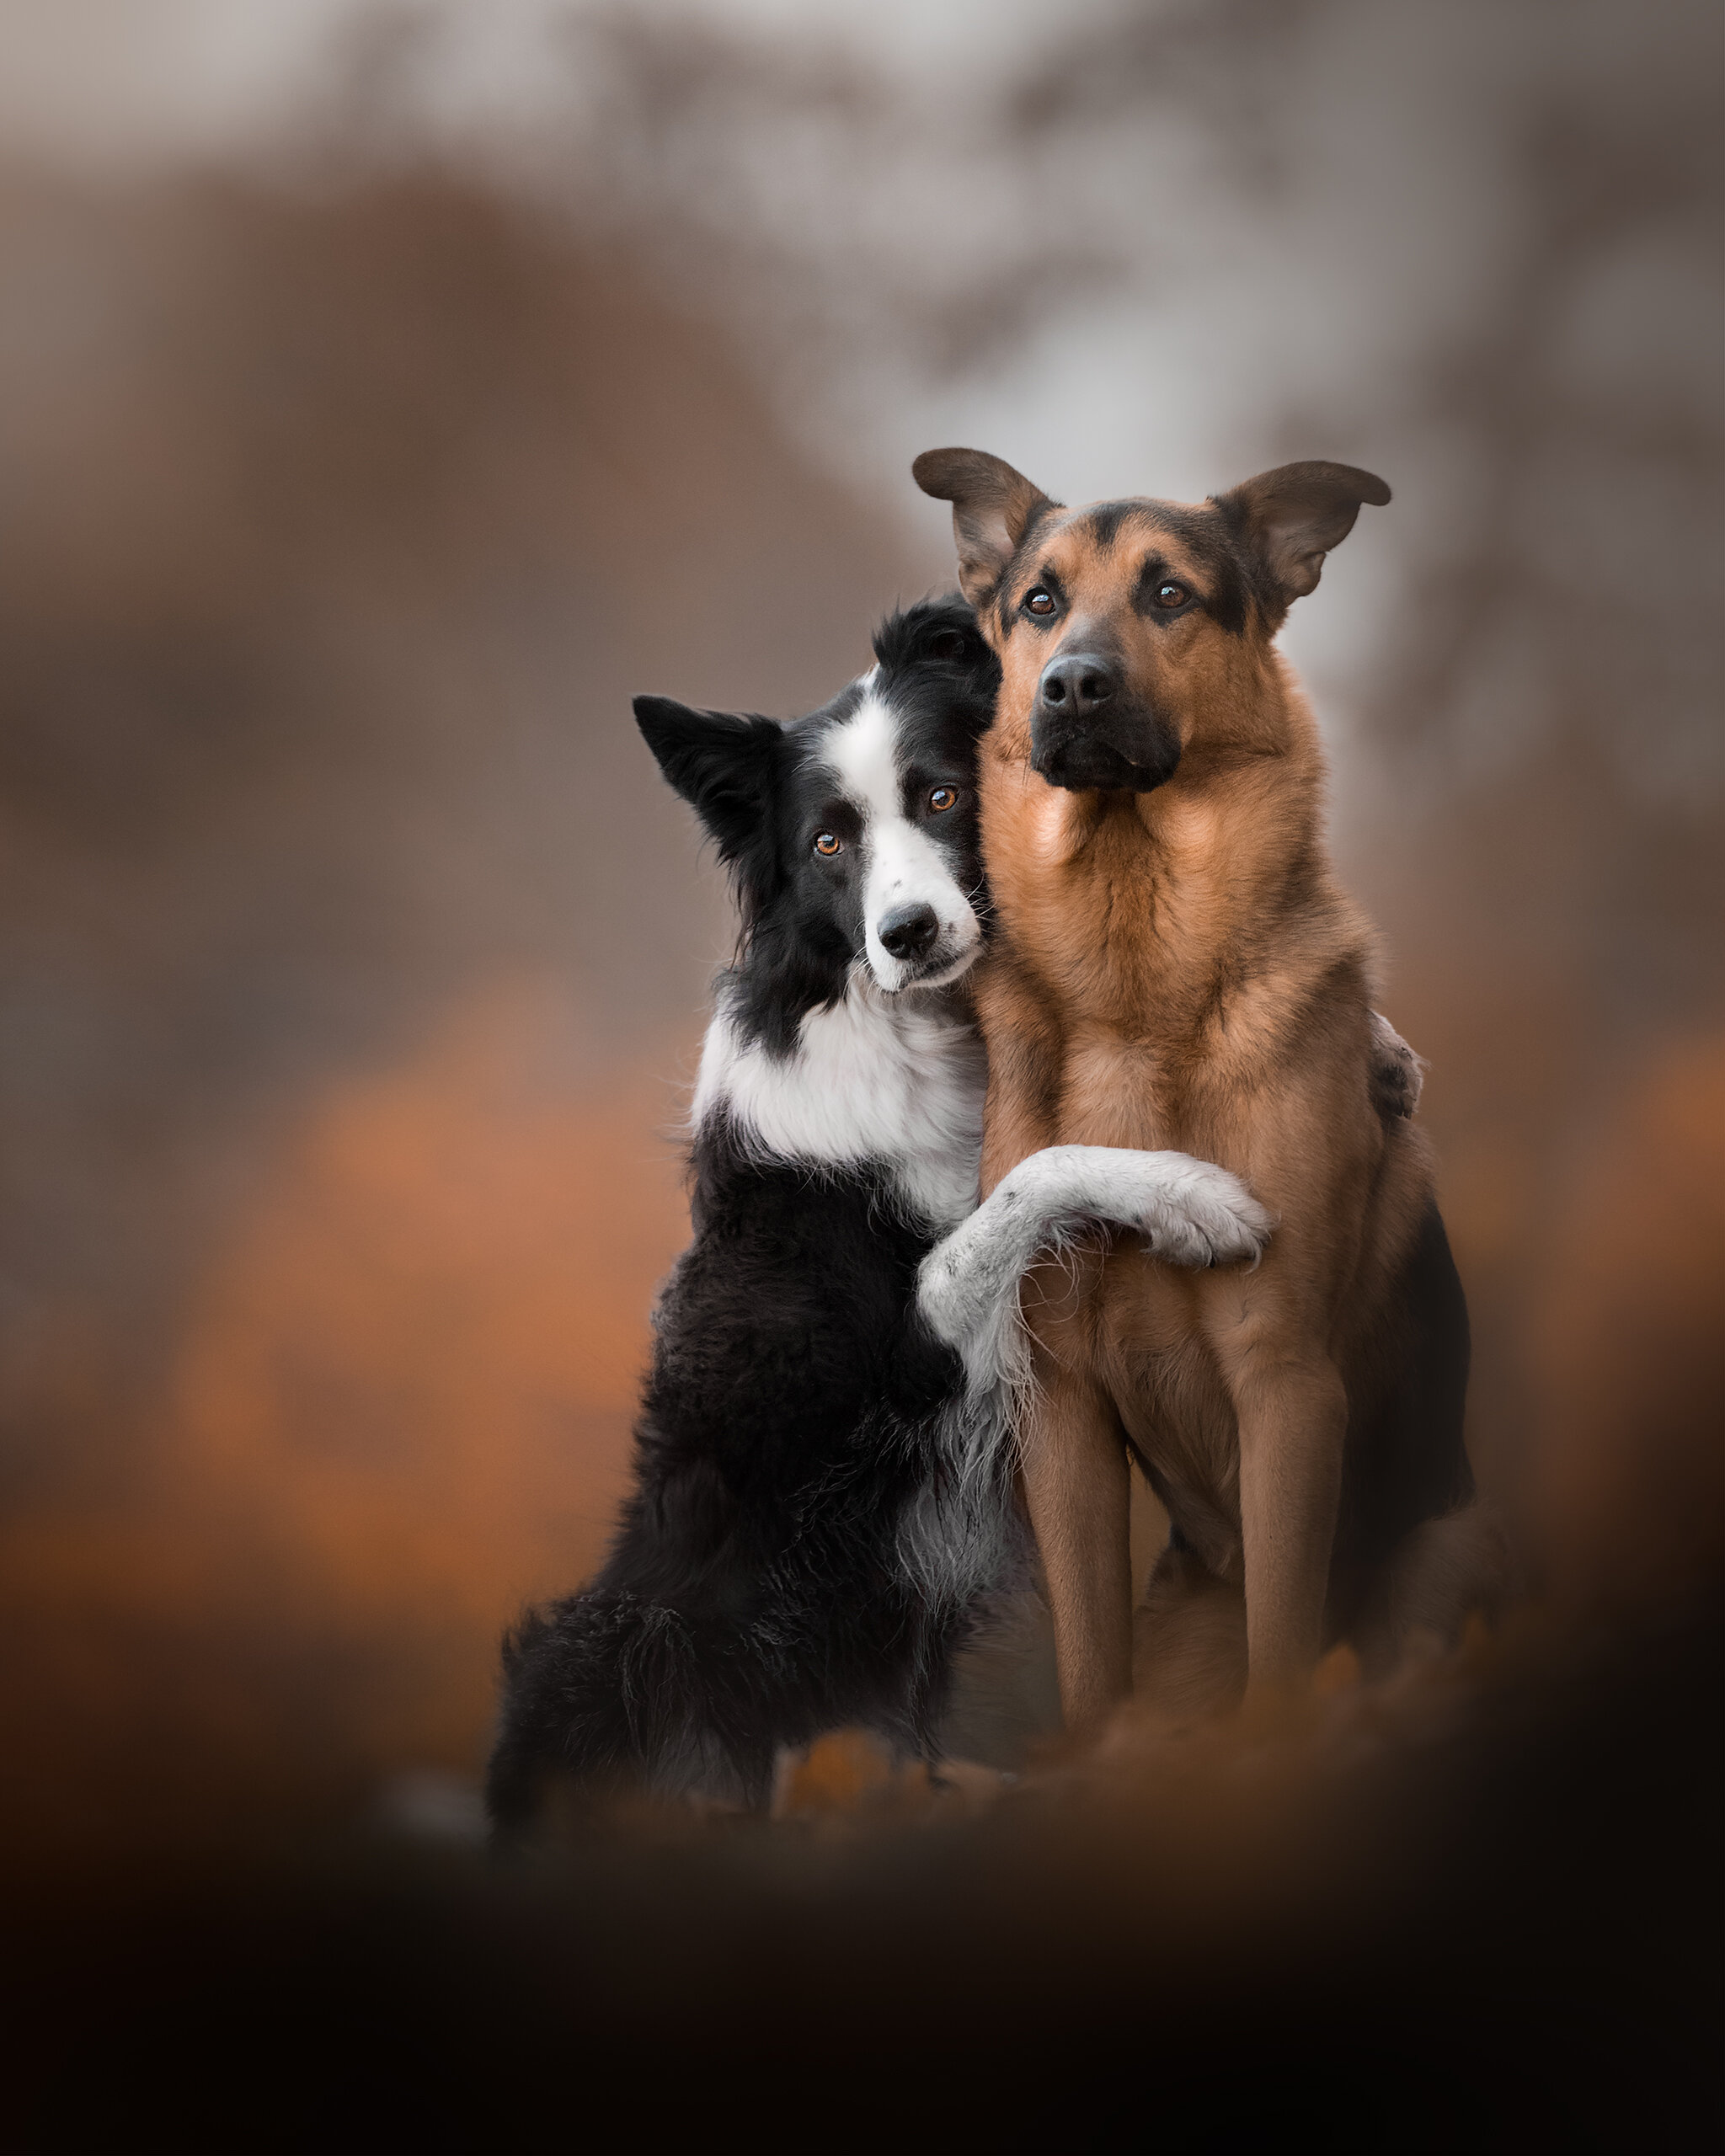
  • hug

Treat catches make epic photos, so having a dog who will go out of their way to catch a tossed treat is great.


7B. Posing with your pet

Want to be in a shot with your animal? Practice beforehand! Many animals find it stressful if they’re asked to do something unfamiliar during a photo session.

 
Maternity photo with German Shepherd

The bond between horse and rider

8. You know your pet best

  • Your favourite bits. Think about your favourite parts of your pet - both physically and personality-wise. Are there special ways that your pet looks at you during the day? Are you absolutely in love with her little white-tipped ear? Tell me, and I’ll be able to incorporate it into the session and memorialize it for you.

  • Tongue out? You may have a preference for your animal’s expressions that you should relay ahead of time. For instance, dogs will pant when exerting themselves, or when they’re hot, but some folks prefer a closed mouth in photos. We can make that happen, but it’s best to know these things beforehand.


9. At the session

  • Managing energy levels. Some animals have oodles of energy, and some have, well, less. In general, I don’t want a pet vibrating with pent up energy during a session, but I also don’t want to work with an exhausted, hot animal. In general, it’s best to just give your dog a relaxed sniffing walk before the session to get their yayas out, but I also cater my sessions to high energy dogs and give them plenty of opportunities to blow off steam.

  • Bathroom breaks. Try your best to make sure your pets are “empty” before we begin. Bring extra waste bags and baby wipes, just in case.

  • Allow your dog to sniff the area before asking him or her to work. This allows for the dog to exercise its natural desire to explore the area ahead of time so they’re better able to actually focus when we ask them to.

  • Collaboration. The session is collaborative. Don’t be afraid to speak up and suggest new things.

  • Patience is a virtue. I have all the patience in the world and am happy to work at your pet’s pace.

  • Plan ahead and be ready to adapt on the fly. Animals are unpredictable and sometimes things don’t go according to our best laid plans. No worries. Whatever they give us, I can do something awesome with it.

Willow the Setter in purple at Jess Bell Photography group session

10. There’s no time like the present

Zuma sunrise, Scarborough Bluffs

“Taking an image, freezing a moment, reveals how rich reality truly is.”

Your relationship with your pets is amazing. The thousands of hours you’ve spent together should be commemorated; remembered with more than just cellphone snaps or ribbons on a wall. Life can be fragile and unpredictable, and sometimes our time spent with our pets is too fleeting. This is why it is so important to capture this relationship in photographs - to create something timeless that you will be able to look back at happily as the years go on.


I hope you enjoyed reading my list of 10 tips to help you get the very most out of your Jess Bell Photography photo session. If you have any other tips and pointers you would like to share with people, please drop them into the comments below.

I can’t wait to work with you!

aaa JBPcom header small.png


Image feature: Bazinga

This photo is an artistic edit of a photograph taken at the epic sunrise photo collaboration with Sara Brueske, Bazinga and Claudio Piccoli. Claudio took a photograph during this session that immediately went viral around the world, so I set out to create something unique from a photograph captured at the same session. These artistic edits are some of my favourite things to create.

Zinga at the Scarborough Bluffs

Behind the scenes - editing studio photographs

Tonic

Here's a bit of insight for those who may be interested in my studio shot editing process, featuring Tonic the feline actor.

Feline actor Tonic in studio with Jess Bell Photography in Scarborough


First shot is the final version, the second is the unedited shot (with exposure increased slightly from SOOC) and the third is a quick comparison with a few key items highlighted.

I liked this shot initially because of Tonic's position - he seemed ready to spring. I felt like the form created by his position was a nice, compact shape that appealed to me. This is some of what I did to bump up the drama in this shot.

1 Adjust the horizon so it's level.
2 Cropped to the rule of thirds.
3 Warmed up the yellows by shifting them slightly more red and increased saturation of eyes and fur.
4 Dodging and burning fur and eyes via layers set to color dodge & soft light.
5 Increasing exposure in a few areas that I thought were important but were dark, like the curled tail and hanging paws.
6 Cloned the catch light from one eye onto the second so they matched a bit better.
7 Darkened the background to draw eyes to the subject, but still left in enough ground so as not to make my subject appear to float.
8 Sharpened the head and paws slightly.
9 Added a layer set to "color" to adjust colour very slightly in select areas.
10 General clean up of errant hairs, treats etc with healing brush or lasso tool -> fill.
11 Used the liquify tool to exaggerate the poofy tail a little more.

All in all, the edit doesn't take too long once I know what I want out of a shot.

Comparison - straight out of camera vs final image

Image feature: The Coming Storm

This photo is an artistic edit of a photograph taken at the epic sunrise photo collaboration with Sara Brueske, Bazinga and Claudio Piccoli. Claudio took a photograph during this session that immediately went viral around the world, so I set out to create something unique from a photograph captured at the same session. These artistic edits are some of my favourite things to create.

The Coming Storm, featuring Sara and Bazinga, Australian Koolie

The Coming Storm, featuring Sara and Bazinga, Australian Koolie